


That Exposed Fiber Connector Is a Disaster Waiting to Happen
You just got fiber installed. The speed test looks amazing. Then you walk outside and see it: a fragile-looking connector, the lifeline of your gigabit internet, dangling against your siding or snaking along the ground. No enclosure. No protection. Just plastic, glass, and metal facing the full fury of the elements.
This isn't just sloppy—it's a fundamental failure of the installation. The Reddit post that inspired this article captures a universal frustration in 2026: the gap between the promise of fiber and the reality of rushed, under-equipped technicians. That user's question—"Will this connector fail over time?"—is the right one to ask. The short answer is yes, absolutely, and probably sooner than you think. But let's move past the panic and into solutions. This guide will explain why it fails, what exactly goes wrong, and give you a clear action plan to secure your connection, whether you want to DIY a fix or hold your ISP accountable.
Why Fiber Connectors Are Not Weatherproof (The Science of Failure)
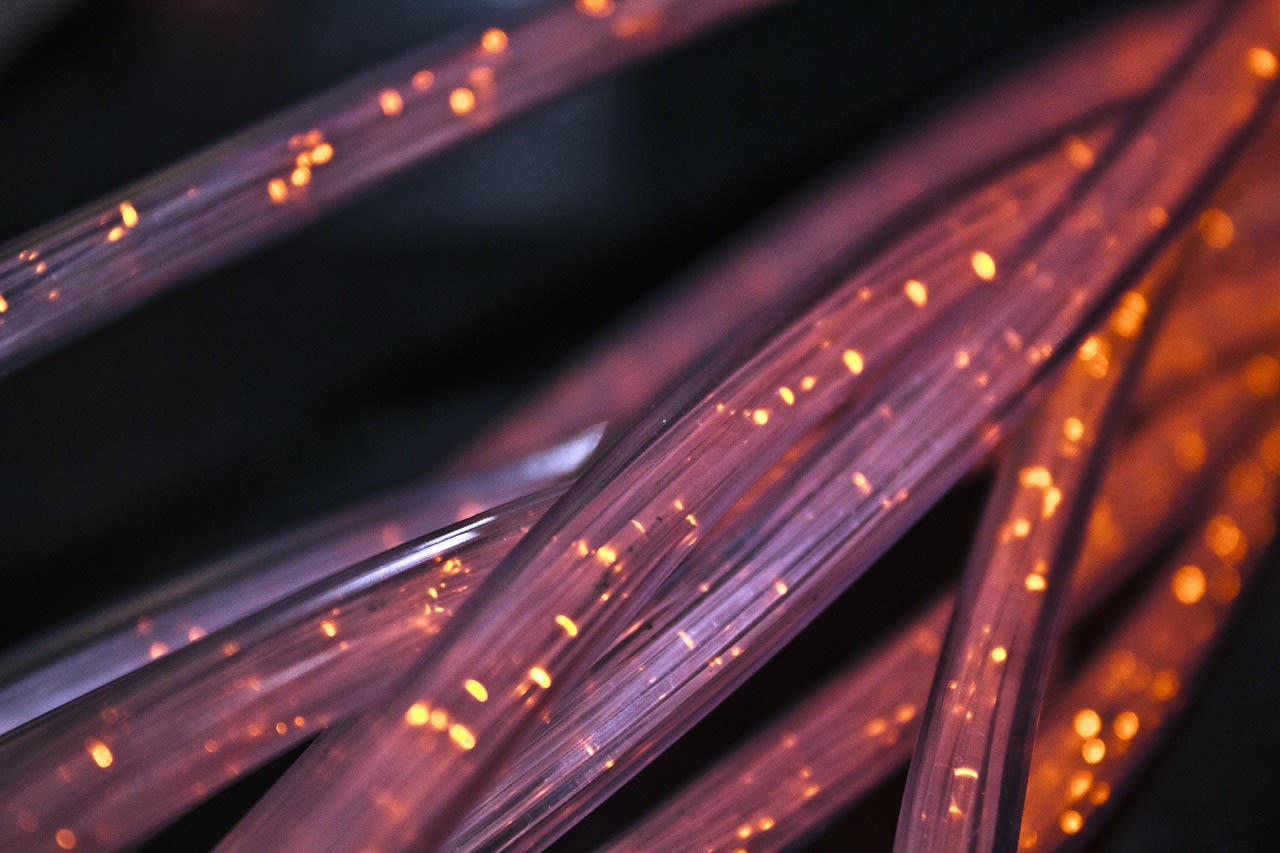
To understand why an exposed connector is bad, you need to know what's inside that tiny tip. A fiber connector, typically an APC (Angled Physical Contact) type for modern FTTH installs, is a precision instrument. At its heart is a microscopic glass fiber, polished at an 8-degree angle. This ferrule aligns perfectly with another inside your optical network terminal (ONT) to allow light to pass with minimal loss, or "attenuation."
Now, introduce the real world. Dust and moisture are the arch-enemies of this optical interface. Water ingress doesn't just block light; it causes something called "Fresnel reflection" at the glass-air-water boundaries, scattering the signal. Contaminants scratch the pristine end-face during mating. But the damage isn't only to the glass. The connector's body is often made of plastic (like UPC) or ceramic. These materials expand and contract with temperature cycles. In 2026, with summer heatwaves and winter deep freezes becoming more extreme, this thermal cycling can break the adhesive bond holding the fiber in the ferrule, leading to a "pistoning" effect where the fiber moves in and out. Suddenly, your perfect -20 dBm signal has dropped to -30 dBm, and you're experiencing intermittent outages every time it gets hot or cold.
UV radiation from the sun is another silent killer. It degrades the plastic components, making them brittle. The rubber boot protecting the bend-sensitive fiber becomes cracked and useless. This isn't a "maybe in five years" problem. I've seen connectors exposed in sunny climates become unreliable in under 12 months.
Decoding the "Lazy Install": Why Technicians Leave Connectors Exposed
So why does this happen? In the Reddit case, the technician's excuse was a cable that was too short. That's a symptom of a bigger problem: poor planning and inventory management. Many ISPs in 2026 operate on tight margins and aggressive installation quotas. Technicians are often dispatched with a standard kit. If the house requires a longer run from the terminal (the "demarcation point" or "network interface device") to the desired interior location, they face a choice: call for a proper, pre-terminated cable of the correct length (which delays the job and hurts their metrics) or MacGyver a solution.
The "solution" we see is often a combination of two shorter cables joined by a coupler—the exposed connector in question. This adds two extra connection points (and potential failure points) where there should be zero. It's a clear violation of best practices, which dictate a single, continuous cable from the external box to the indoor ONT, or the use of a sealed, grounded junction box for any necessary intermediate connection.
Sometimes, it's not even about cable length. It's about pathing. Drilling a new hole or finding a clean path through walls is time-consuming. Running a cable along an exterior wall and through a window seal is fast. Understanding this "why" is crucial when you complain. You're not just pointing at a connector; you're highlighting a systemic workaround that compromises the service you're paying for.
The Failure Timeline: What Breaks First and How You'll Notice
Failure won't always be a dramatic, total blackout. It's usually a slow, frustrating descent into instability. Here's the typical progression, based on dismantling dozens of failed outdoor connectors:
Stage 1 (Weeks to Months): The Signal Degradation. Moisture and dust begin to collect on the end-face. You might not notice anything during a speed test (which often uses robust, error-corrected protocols), but you'll start seeing subtle issues. High packet loss in video games, especially during humid or foggy weather. Occasional buffering during 4K streaming that you blame on the service. Your ONT's signal level, which you can usually check in its admin interface, will start to show higher (worse) attenuation values. This is the warning phase.
Stage 2 (6-18 Months): Intermittent Outages. Thermal cycling has now worked its magic. Connections become physically unstable. Your internet will drop out on hot afternoons as things expand, or on cold mornings as they contract. You'll find yourself power-cycling the ONT regularly. The technician who comes out might temporarily fix it by simply re-seating the connector, cleaning it, or putting electrical tape over it—another band-aid solution.
Stage 3 (18+ Months): Permanent Failure. The end-face is permanently contaminated or scratched. The ferrule is cracked or misaligned. The fiber itself has snapped inside the boot from repeated bending or brittleness. Now you have a complete service outage. The repair will require a truck roll, a new cable run, and likely several days without service. All of this was preventable.
Your Immediate Action Plan: Temporary Fixes You Can Do Today
You've read the scary stuff. Now, let's talk about what you can do right now, before you even call your ISP. These are temporary, protective measures to buy time while you seek a permanent solution.
Step 1: Assess and Document. Take clear, well-lit photos of the exposed connector from multiple angles. Get a shot of it in relation to the external box and the entry point into your house. This is your evidence. Note the brand and type of connector if you can see any markings.
Step 2: Create a Basic Weather Shield. You need to keep water out and buffer temperature swings. The absolute minimum is a high-quality, waterproof electrical tape like Scotch 33+ or Super 88. Don't just wrap the connector—create a "drip loop" in the cable so water runs down and away before it reaches your tape seal. Wrap from the cable jacket, over the connector body, and back onto the cable. Make it smooth and tight. For slightly better protection, use self-fusing silicone tape (like M-D Building Products Self-Fusing Silicone Tape). It bonds to itself to form a waterproof, rubbery sheath that handles temperature extremes well.
Step 3: Add a Physical Barrier. Tape is good, but mechanical protection is better. If the connector is against a wall, consider securing a small section of PVC conduit or even a simple plastic Weatherproof Outdoor Electrical Box over it. The goal isn't a perfect seal yet, but to shield it from direct rain, UV, and accidental bumps.
Important Caveat: These are temporary fixes. They do not replace a proper, sealed junction box installed by a professional. They are first aid for your fiber.
The Permanent Solution: Demanding a Proper Junction Box Installation
This is the non-negotiable end goal. A proper outdoor fiber connection must be housed in a sealed, grounded enclosure designed for telecommunications. Here's what you need to ask for and how to get it.
The correct hardware is an outdoor-rated fiber optic junction box or enclosure. These are typically small, white, wall-mountable boxes with gasketed seals and strain relief clamps for the cables. They house the connector coupler in a protected environment. Brands like Corning, CommScope, or Hexatronic make these specifically for FTTH drop applications.
When you call your ISP (and you should), don't start with anger. Start with facts and reference their own standards. Say: "I have an APC connector from my drop cable that is exposed to the weather. This creates a point of failure for my service and does not meet telecommunications weatherproofing standards. I need a technician to install a proper outdoor junction box to house this connection."
If the first-line support resists, escalate. Ask for a supervisor or a "field supervisor" in the local dispatch team. Send them the photos you took. Mention terms like "network reliability," "preventative maintenance," and "water ingress." In 2026, most reputable ISPs have internal quality control audits. A photo of an exposed connector is a mark against the installing technician's record. Use that leverage politely but firmly. Your request is completely reasonable.
DIY or Hire? Navigating the Permanent Fix Yourself
Maybe your ISP is unresponsive, or you're tired of waiting. Is a DIY permanent fix possible? Technically, yes, but it's in the "advanced" category. It involves installing the junction box yourself and potentially re-terminating the fiber.
Here's the reality: working with fiber requires specific tools. You need a cleaver to cut the glass perfectly, a stripper for the jacket and buffer, and a fusion splicer or mechanical splice connector to make a new end. A cheap mechanical splice kit might cost $50, but the results are less reliable than a fusion splice. A proper fusion splicer is a $1,500+ tool. This is the very reason technicians sometimes take shortcuts—the right tools aren't always in the truck.
For 99% of people, the better DIY-adjacent path is to hire a specialized low-voltage or structured cabling technician. These independent contractors often do cleaner work than ISP techs. You can find qualified professionals on marketplaces like Fiverr by searching for "fiber optic termination" or "low-voltage wiring" and checking their portfolios. They can source and install the correct enclosure, run a new, properly sized cable if needed, and deliver a commercial-grade finish. You pay out of pocket, but you gain control and a guaranteed quality result.
If you're data-inclined and want to understand the specs before hiring someone, you can use resources like the Apify Platform to scrape and compare technical specifications for different junction box models and fiber types from manufacturer websites, ensuring you know exactly what part your hired pro should be installing.
Common Mistakes & FAQs: Beyond the Exposed Connector
Can I just put silicone caulk over it?
No. This is a common and terrible idea. Silicone caulk is messy, can chemically interact with the cable jacket, and makes any future repair or inspection a nightmare. It also traps moisture if it's already gotten in. Use the tape methods described earlier as a temporary shield, never permanent caulk.
The technician said it's "outdoor-rated cable," so it's fine.
This is a half-truth. The cable may be outdoor-rated (with a black, UV-resistant jacket), but the connector is almost never rated for prolonged, direct exposure. The rating applies to the cable run, not the termination point. The connector must still be protected inside an enclosure.
What about the hole where the cable enters my house?
Great question! This was another issue in the original Reddit post. The cable penetration should be sealed with an appropriate exterior-grade sealant (like duct seal or silicone) or a purpose-made wall gland. An unsealed hole invites moisture, pests, and drafts. When you get the junction box installed, ensure this entry point is also properly addressed.
How can I check my signal health?
Log into your ONT's web interface (the address and credentials are often on a sticker on the device). Look for a status page showing "Optical Signal" or "RX Power." A good, healthy signal for GPON networks is typically between -8 and -28 dBm. If you see it creeping toward -30 dBm or fluctuating wildly with the weather, that's a direct sign of the problem we've been discussing.
Securing Your Fiber Future
That exposed fiber connector isn't just an eyesore. It's a vulnerability—a guaranteed future service call, a point of frustration, and a sign that the installation wasn't finished correctly. In 2026, with our increasing reliance on rock-solid home internet, we shouldn't accept these kinds of shortcuts.
Start with the temporary protection. Document everything. Then, engage with your ISP from a position of informed authority, demanding the junction box that should have been installed on day one. If they won't play ball, know that you have options, from hiring a competent freelancer to—in a pinch—executing a careful DIY fix with the right parts. Your fiber connection is a premium service. It deserves a premium, weatherproof installation. Don't settle for less.
