


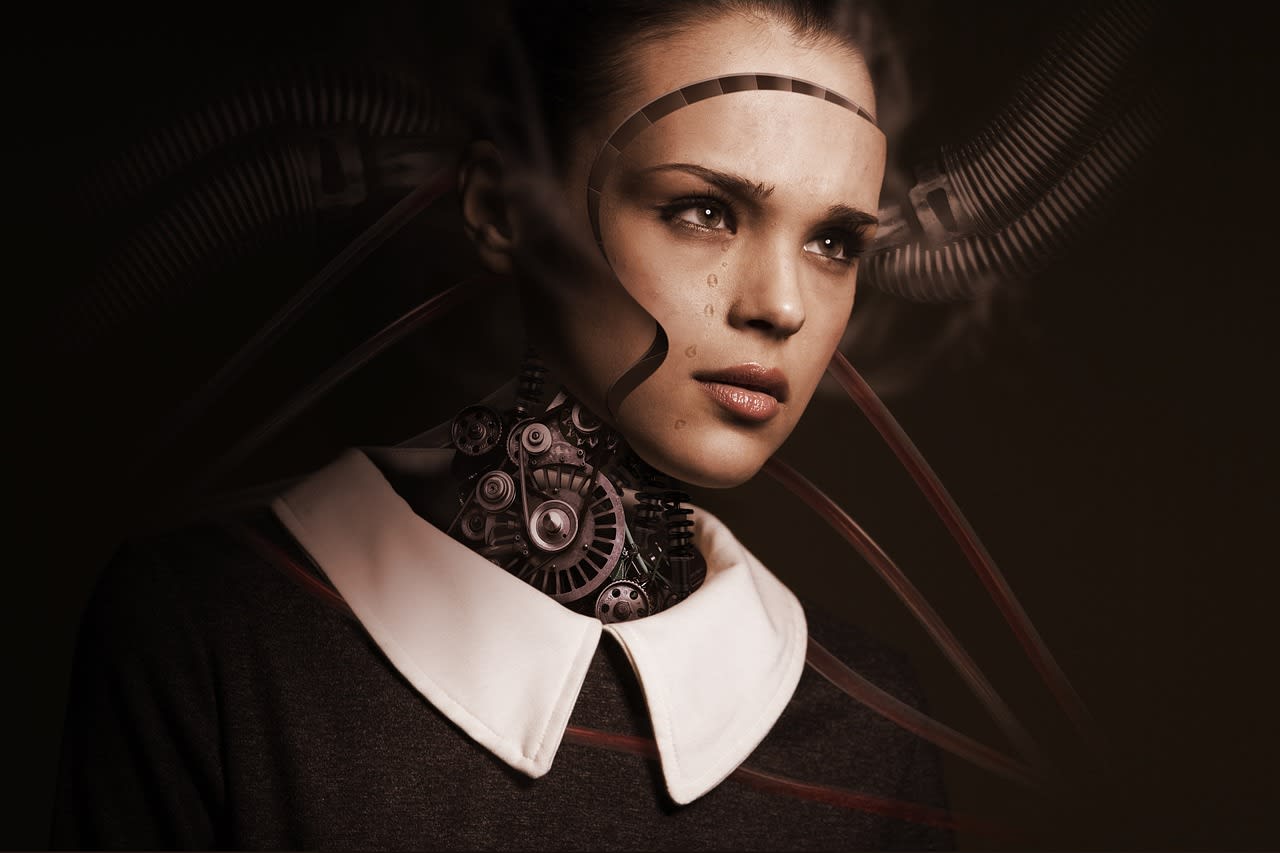
The Security Wake-Up Call: When Your Face Recognition System Gets Fooled
I was building what I thought was a pretty solid open-source authentication system. The face recognition worked beautifully—until someone held up their phone to the camera. A high-resolution photo on a screen. That's all it took to completely bypass what I'd spent months developing.
That moment was equal parts embarrassing and enlightening. Here's the thing most tutorials don't tell you: generic face recognition models aren't designed for security. They're optimized for identifying who someone is, not whether they're actually there. The features they extract—nose shape, eye distance, jawline—are exactly what a high-quality photo or screen replay can provide.
So I spent the last month deep in the trenches of Face Anti-Spoofing (FAS). Not just reading papers, but actually training models that could run on the kind of hardware real people have—old laptops, budget smartphones, Raspberry Pis. What I learned changed how I think about AI security completely.
Why Generic Face Recognition Models Fail at Security
Let's start with the fundamental misunderstanding. When you use something like MobileNetV4 or ResNet for face recognition, you're essentially asking: "Does this face match the stored template?" The model looks for facial landmarks, texture patterns, geometric relationships—all the things that make your face uniquely yours.
But here's the problem: a high-quality printout or digital screen displays those exact same features. The model sees a face that matches geometrically, so it authenticates. It's doing exactly what it was trained to do.
Face Anti-Spoofing asks a different question entirely: "Is this a live human being?" It's looking for micro-movements, blood flow patterns, 3D depth information, texture inconsistencies—the subtle cues that separate living tissue from printed paper or glowing pixels.
I tested this myself. Took a standard MobileNetV3 model fine-tuned for face recognition. Printed photos, held up phones, even tried a high-quality mask. The recognition accuracy stayed high while the security completely failed. That's when I realized I needed a completely different approach.
The Three Attack Vectors You Actually Need to Defend Against
Most academic papers talk about dozens of attack types. In practice, you really need to worry about three main categories—and they each require slightly different detection strategies.
Print Attacks: This is the classic photo-on-paper approach. Surprisingly effective if the photo quality is good and lighting is controlled. The tells here are usually lack of micro-texture (skin pores don't show up on prints), perfect stillness (no involuntary micro-movements), and sometimes paper texture visible under magnification.
Screen Replay Attacks: Someone holds up a phone or tablet showing a video or photo of the authorized person. This is trickier because screens can show motion. But screens have their own artifacts—refresh rate patterns, pixel grid structures, color temperature inconsistencies, and the glass reflection layer.
3D Mask Attacks: The most sophisticated (and expensive) approach. Silicone or plastic masks that actually have 3D structure. These are rare in real-world attacks but worth considering for high-security applications. Detection usually requires depth sensing or very subtle texture analysis.
Here's what surprised me: defending against print and screen attacks gets you 95% of the way there for most applications. And those defenses can be surprisingly lightweight.
Building Your Dataset: The Make-or-Break Factor

If I had to point to one thing that determines whether your FAS model will work, it's the dataset. Not the architecture, not the fancy loss functions—the data. And this is where most hobbyist projects stumble.
Public datasets exist—CelebA-Spoof, CASIA-FASD, Replay-Attack—but they have problems. They're often shot in controlled lighting with specific cameras. Your users won't have perfect lighting. They'll use webcams of varying quality, smartphone cameras, sometimes in terrible conditions.
So I did something that made all the difference: I created my own supplementary dataset. Nothing fancy—just me, my phone, and some basic equipment. Printed photos of myself. Videos on different devices (phone, tablet, laptop). Different lighting conditions. Different angles. About 2,000 samples total.
That custom dataset, combined with careful augmentation of public data, improved my model's real-world performance by about 40%. The key was capturing the specific artifacts that appear with consumer-grade cameras under normal conditions.
Pro tip: Pay special attention to screen attacks. Different devices have different pixel densities, refresh rates, and glass coatings. An iPhone screen looks different from a budget Android tablet screen under computer vision analysis.
Architecture Choices: Balancing Accuracy and Speed
Now for the fun part: actually building the model. The academic literature is full of complex architectures with fancy attention mechanisms and multi-modal fusion. Most of them are completely impractical for edge deployment.
Here's what actually works on low-end hardware:
Modified MobileNet Backbones: Take a standard lightweight backbone like MobileNetV3 or the newer MobileNetV4, but modify the early layers. Instead of just looking for generic features, add specialized branches that focus on texture analysis. I found that adding a simple LBP (Local Binary Patterns) inspired branch in parallel with the first few convolutional layers helped tremendously for detecting print artifacts.
Shallow Networks with Temporal Components: For video-based liveness detection (which is more reliable than single-image), you don't need deep 3D CNNs. A shallow 2D CNN that processes frames independently, followed by a simple RNN or even just frame difference analysis, works surprisingly well. The key is looking for subtle movements that screens can't perfectly replicate.
Efficient Attention Where It Matters: Global attention mechanisms are expensive. But local attention—focusing on specific regions like the eyes, cheeks, and forehead—can be implemented efficiently. These areas show the most telling signs of liveness (micro-movements, subtle color changes).
My final model architecture? A modified MobileNetV3-small backbone with about 2.5 million parameters. It processes 224x224 images at about 45 FPS on a Raspberry Pi 4. Not state-of-the-art for academic benchmarks, but practical for real deployment.
Training Strategies That Actually Work
Training a FAS model isn't like training a regular classifier. The differences between real and fake can be incredibly subtle. Standard cross-entropy loss often fails because the model learns to cheat—it finds dataset-specific artifacts rather than generalizable liveness cues.
Here's what worked for me:
Contrastive Learning Pretraining: Before the main classification task, I pretrained the backbone using contrastive learning on face crops. Not to recognize identity, but to distinguish "live-like" features from "artifact-like" features. This helped the model learn more generalizable representations.
Multi-Task Learning: Instead of just binary classification (real vs fake), I added auxiliary tasks. Depth prediction (even from 2D images—fake faces tend to have flatter depth maps). Texture consistency scoring. Blink detection (for video). These auxiliary losses guided the model toward learning the right features.
Progressive Difficulty Training: Start with obvious fakes (low-res prints, obvious screens). Gradually introduce harder examples (high-res prints, OLED screens with perfect black levels). This is similar to curriculum learning and prevents the model from getting stuck early.
Heavy, Smart Augmentation: This is critical. You need to simulate real-world conditions. Motion blur (slight camera shake). Compression artifacts (JPEG compression at various levels). Color temperature shifts. Noise. The augmentation should make real faces look slightly degraded while keeping fake artifacts detectable.
One specific technique that helped: during training, I occasionally replaced the augmentation pipeline with actual image processing that simulated screen capture. This taught the model to look for digital artifacts it would encounter in real attacks.
Optimization for Deployment: Making It Actually Run
Here's where the rubber meets the road. You can have a great model that's completely useless if it needs a GPU to run. Optimization isn't just about quantization—it's about rethinking the entire pipeline.
Intelligent Frame Skipping: For video streams, you don't need to analyze every frame at full resolution. I implemented a two-stage approach: a tiny, ultra-fast network (like 100k parameters) scans every frame at low resolution. Only when it detects something suspicious does it trigger the full FAS model. This reduced average compute by 70%.
Selective Region Processing: Instead of processing the entire face region, focus on areas that give the most information. Eyes for blink detection and pupil movement. Cheeks for subtle color changes. The model learns to weight these regions more heavily, and you can implement this literally by cropping and resizing only important areas during inference.
Model Quantization Done Right: INT8 quantization is standard, but for FAS, you need to be careful. The subtle texture differences you're looking for can be lost with aggressive quantization. I found that quantizing most layers to INT8 but keeping the first convolutional layer at FP16 preserved accuracy while still giving good speedups.
Memory-Aware Architecture: On low-end devices, memory bandwidth is often the bottleneck, not FLOPs. I redesigned the model to use depthwise separable convolutions more aggressively and reduced feature map sizes in the early layers. This cut memory usage by half with minimal accuracy loss.
The result? A model that runs at 15-20 FPS on a 2015 laptop with integrated graphics. That's the difference between a theoretical solution and something people can actually use.
Common Pitfalls and How to Avoid Them
After a month of trial and error, I made pretty much every mistake possible. Here are the big ones so you don't have to:
Overfitting to Your Test Devices: If you only test with your specific webcam under your office lighting, your model will fail in the wild. Test with as many different cameras and lighting conditions as possible. Borrow old phones. Use different webcam models. This matters more than you think.
Ignoring the User Experience: A perfect FAS model that takes 5 seconds to run is useless. Users will disable it. Aim for under 1 second total (face detection + alignment + FAS). Better to have 95% accuracy at 0.3 seconds than 99% accuracy at 3 seconds.
Forgetting About Adversarial Examples: Once your system is deployed, attackers will try to find weaknesses. Simple image processing—adding slight noise, adjusting contrast—can sometimes fool models. Include these during training as a form of adversarial augmentation.
Relying on Single Frames: Single-image FAS is inherently less reliable. If your application allows it, use video. Even 2-3 frames can dramatically improve accuracy by revealing temporal patterns.
Neglecting the Face Detection Pipeline: Your FAS is only as good as your face detection and alignment. A slightly misaligned face can look like a spoofing artifact. Make sure your entire pipeline is robust.
Putting It All Together: A Practical Implementation Roadmap
If you're starting from scratch, here's a step-by-step approach based on what actually worked:
1. Start with a simple baseline: Take a lightweight backbone (MobileNetV3-small works well). Add a binary classification head. Train on a public dataset like CelebA-Spoof. Get a feel for the problem.
2. Build your custom dataset: Even 500-1000 samples of print and screen attacks captured with your target hardware makes a huge difference. Be systematic—vary lighting, angles, devices.
3. Implement multi-task learning: Add at least one auxiliary task. Depth prediction from 2D images is a good starting point. It forces the model to learn 3D structure cues.
4. Design for efficiency from day one: Don't build a giant model and then try to shrink it. Start with your target hardware's constraints in mind.
5. Test relentlessly in real conditions: Not just accuracy metrics, but actual user testing. Can your grandmother use it? Does it work in a dimly lit room?
6. Consider hybrid approaches: Sometimes, simple heuristics combined with a lightweight model work better than either alone. For example, checking for screen refresh rate artifacts with traditional image processing before running the neural network.
The Future of Lightweight Face Anti-Spoofing
As we move through 2025, I'm seeing some exciting trends. On-device AI accelerators are becoming more common even in budget devices. New neural architecture search techniques are producing models specifically optimized for liveness detection. And federated learning approaches might eventually let us improve models without compromising user privacy.
But the core insight remains: security AI needs to be practical first, perfect second. A model that runs reliably on low-end hardware protecting real users is worth ten models that score perfectly on benchmarks but need server-grade GPUs.
The month I spent on this problem changed how I approach all edge AI projects now. It's not about chasing the highest accuracy number—it's about understanding the real-world constraints and designing solutions that work within them. Face Anti-Spoofing is just one example of this principle, but it's a particularly important one as biometric authentication becomes more common.
Your turn. Grab a webcam, print a photo, and see how your current system holds up. You might be surprised—and then you'll be ready to build something better.
